Author Archives: ameliastudio

About ameliastudio

I’m Amy Harding, mother to three little girls. I was an editor for 10 years, and now I stay home with the kids, while also going back to school for graphic design and making/selling pots. Things and people I love: family, ceramics, coffee, “Mad Men,” Louis C.K., sewing, tiki drinks and classic cocktails, gardening, Lucie Rie, Eva Zeisel, the beach, mid-century modernism, the fantastic work of my Mr. H., Bill Murray, Iron & Wine, R.E.M., graphic patterns, peacock blue, peanut butter, architecture, Jonathan Franzen, Don DeLillo, A.S. Byatt, David Sedaris, magazines, design, Wes Anderson, books, salt+sweet …

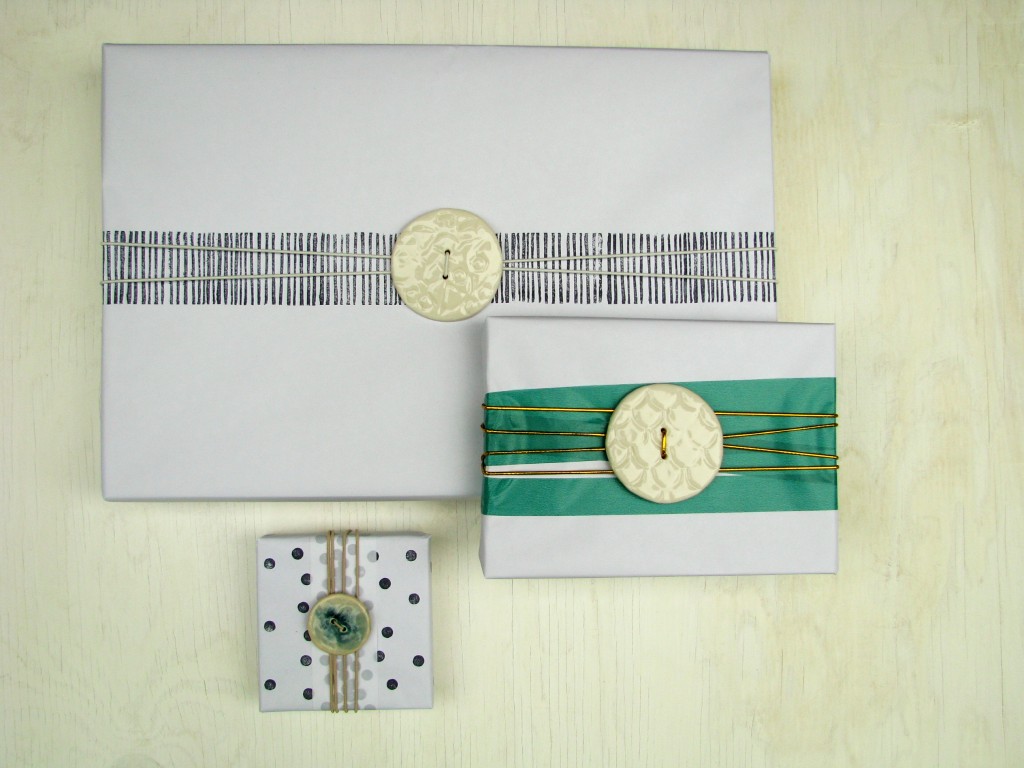
button bows

button bows

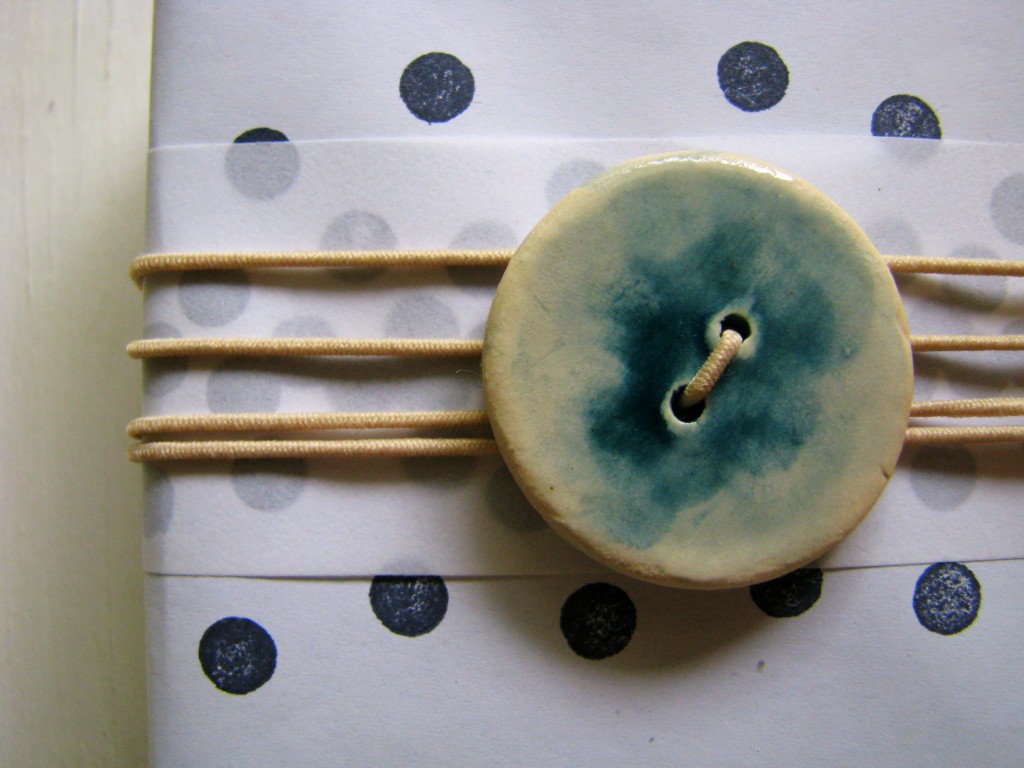
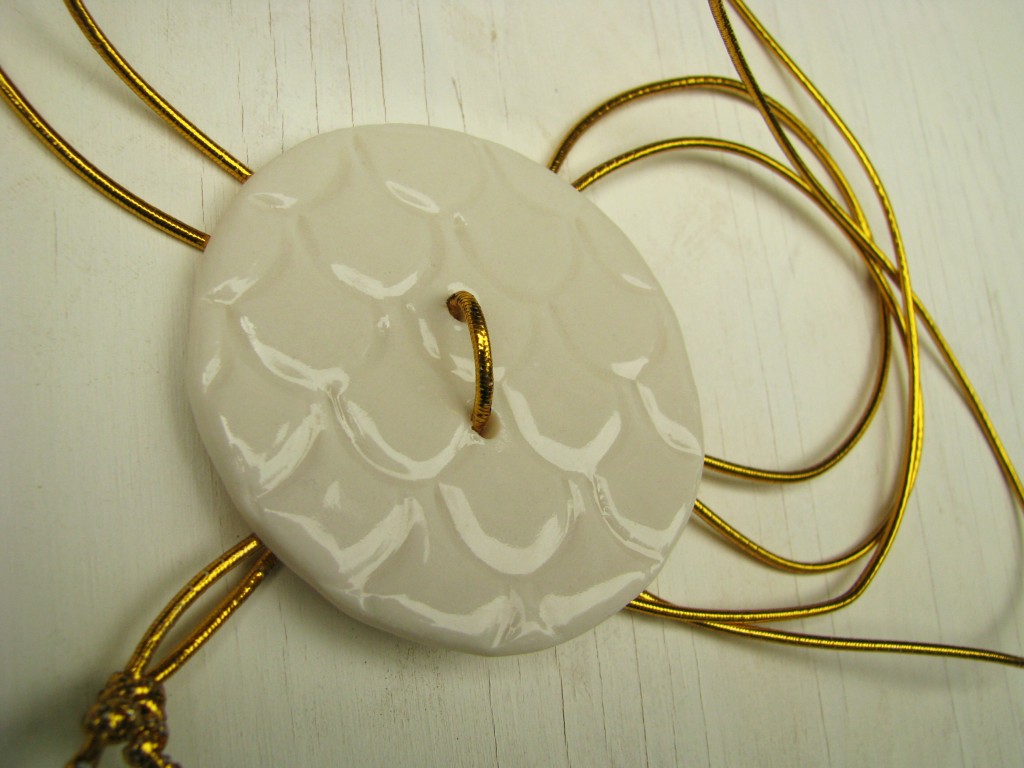
Here’s what I was doing with those giant buttons: button bows! I attached the buttons to elastic cord to make a polished, simple, reusable gift wrap. I would love to set myself up with a roll of white paper, a row of pretty washi tapes and a bin of these button bows, and get rid of the giant pile of disorganized papers and tangled ribbons I currently have going on in my hall closet.

I’ll be selling these at the Kansas City Clay Guild Holiday Sale, and probably on Etsy, too. I’ll keep you posted about the Etsy shop.

a room for working

a room for working

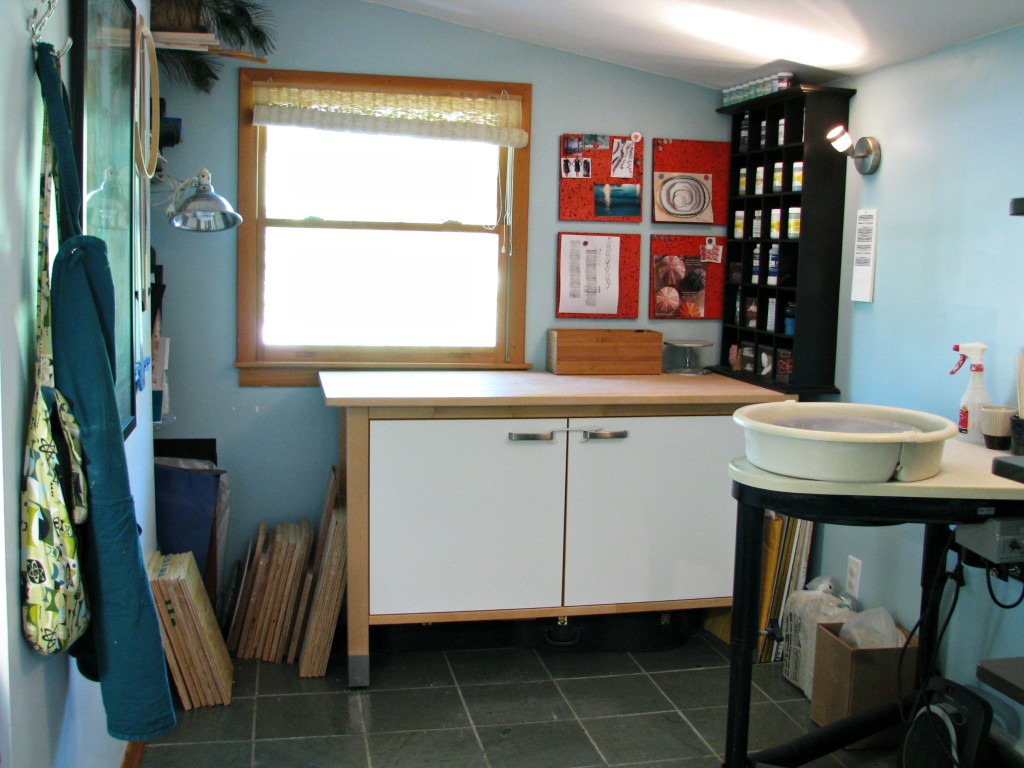
I finally have my studio back! That was quite the mess for a while there.

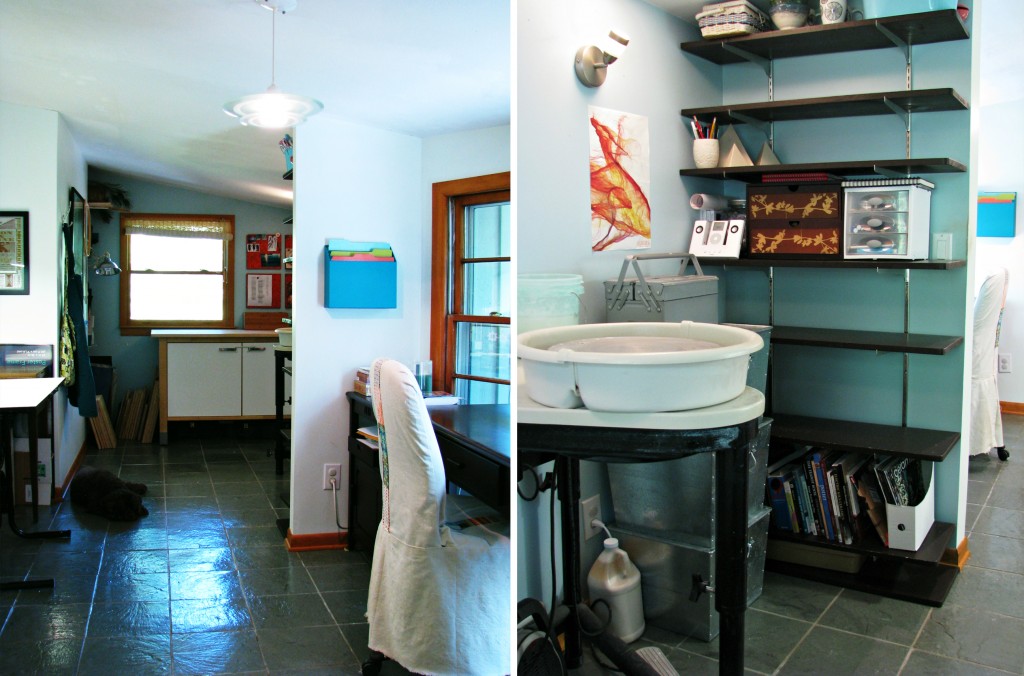
This is probably the cleanest this studio will ever look. I’m hoping that by moving the wheel farther into the studio, I can allow messes to hang out a little longer since the kids and dog won’t be walking through them as much. I have always been an oddly neat potter. All my ceramics instructors have pointed this out, to their amusement.

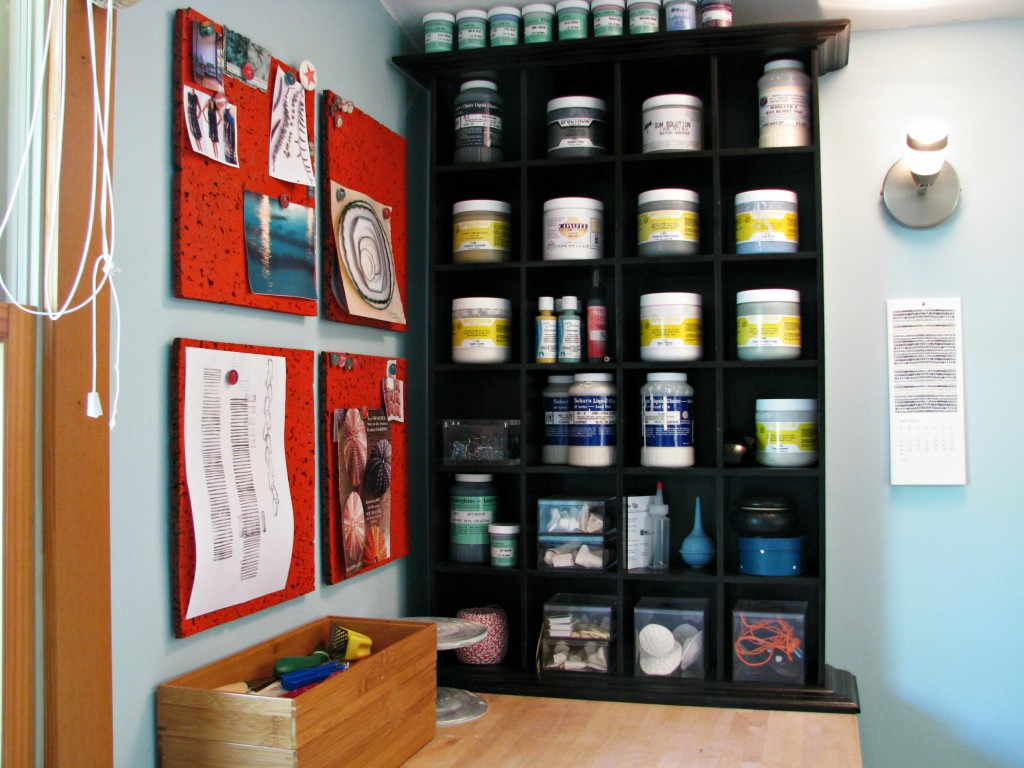
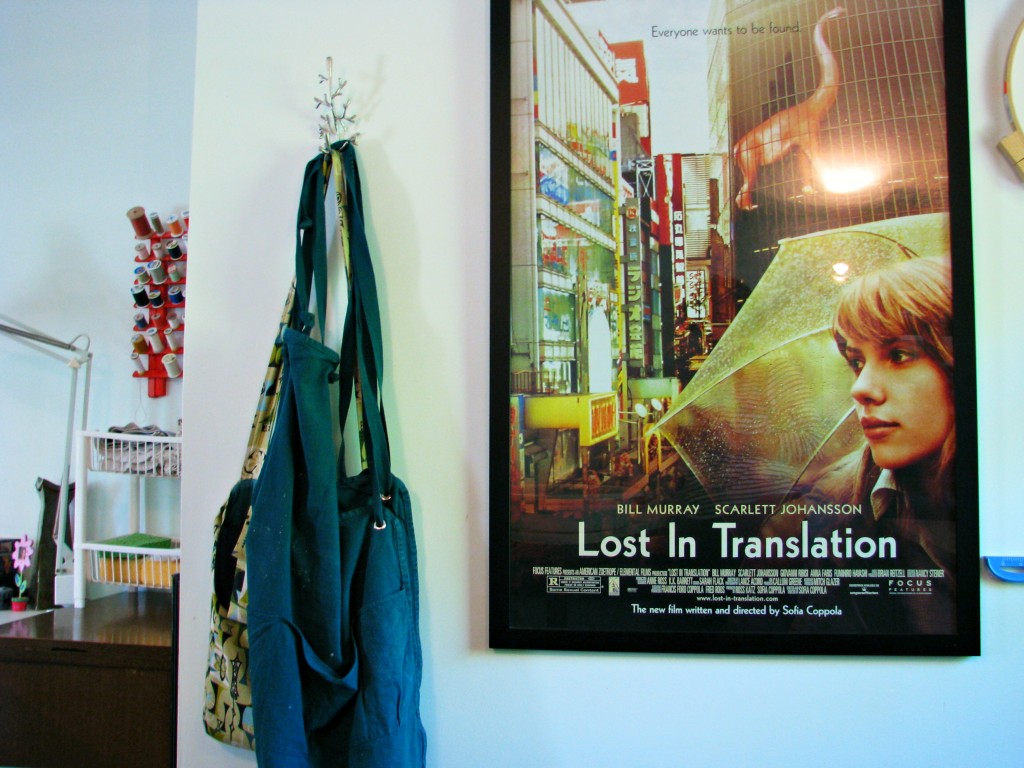
I managed to clear off some shelves for drying my work, but I imagine I’ll need to add another set of shelves at some point. Maybe they will go where that “Lost in Translation” poster is. That will really close me in though, so I’ll work with what I have for now.

I’m mainly glad that my wheel is no longer in the bay window. It sounded so nice at first: I’ll throw pots and look out at the leafy green trees! No, I’ll be throwing at night, startling at my own reflection and flinging clay all over the woodwork. A plain old wall is much easier to clean.

Because I must clean, for I am the OCD Potter.

glamour shots

glamour shots

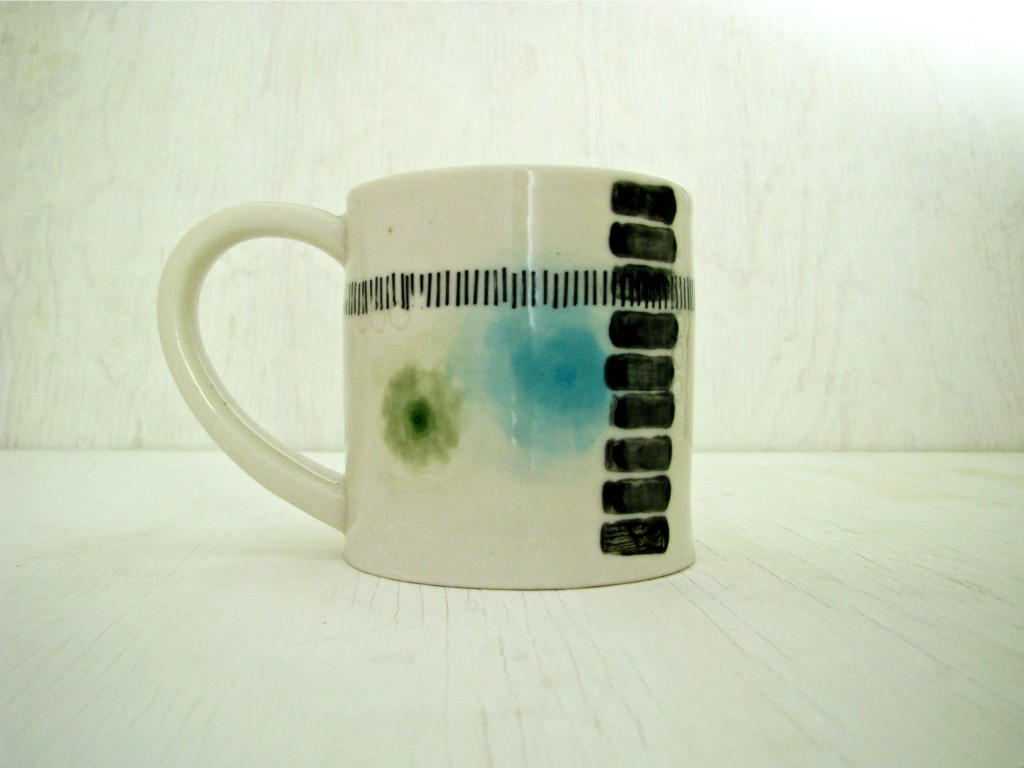
I’ve been taking photos here and there of some of the things that came out of the last kilnload. As you can tell by the lighting changes in these photos, I probably need to pick a location and stick with it!

Some of these pots are a warmer white than others. The warm ones were made with Aardvark Bee Mix 5 (Yes, they spell it “bee.”) It was nice to throw with, but I did have some trouble with handles falling off. That could probably be solved with a better joining slip mixture. I’m not sure how I feel about the warm white. Some days I love it, some days I don’t. I am going to test one more clay, and then I’ll decide. I just want to stick with one clay for a while!

I’ve been playing with making the underglazes behave like watercolor, and the buttons came out the way I wanted them to. I’ll have to try some other colors. I am partial to teal, obviously.

I am just about done with my studio shuffling. It feels so much better in here already! I’ll post pics soon.

studio shuffle

studio shuffle

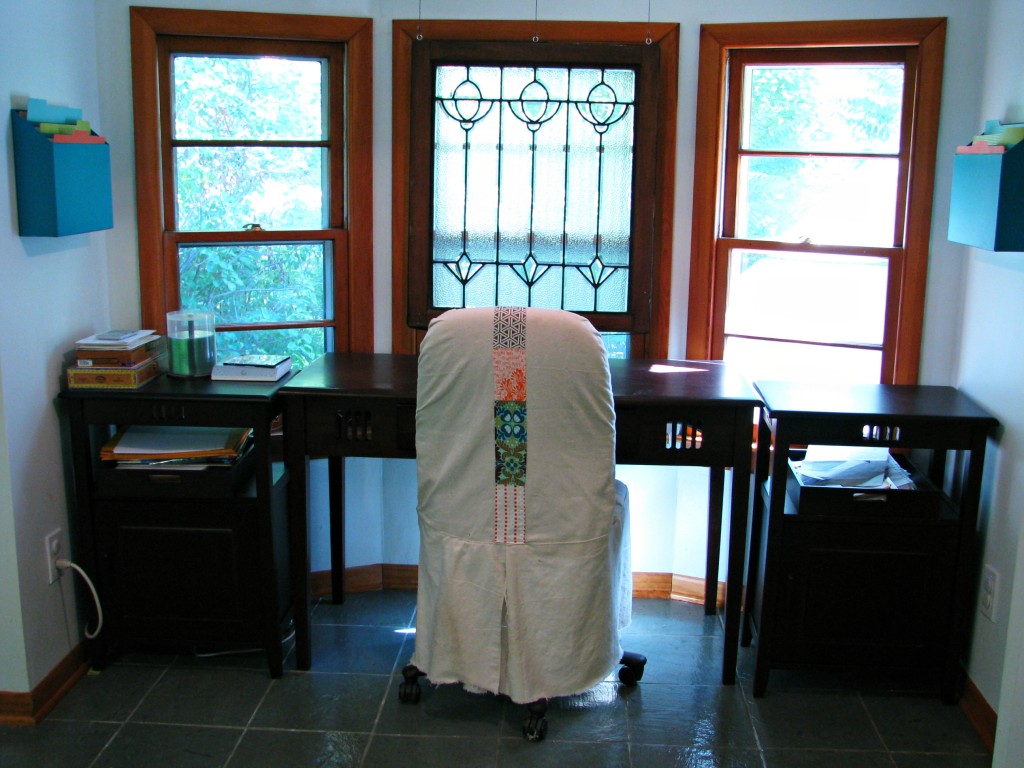
I’m not generally much of a rearranger unless a space in our home really isn’t working anymore. This was the case with my home office/studio. This is a small space (about 100 square feet). It served as a sewing room, computer room, ceramics room and craft room. There wasn’t enough room for all that.

So I boxed up the sewing supplies. I don’t sew as much as I used to, but I don’t plan on quitting altogether. So I tried to organize my fabric and notions in a way that will make it easy for me to get to them when I want them. For me, this meant lots of small, transparent, organized bins — no digging through giant boxes. Yes, I know you are supposed to protect your fabric from light, but if I used opaque bins, I’d forget about the stuff and I may as well just donate the whole lot.

Here is the whole of my sewing/knitting/crocheting/beading/embroidering supplies, minus the sewing machine, thread rack and handwork basket. I have no idea where these are going, but they can’t stay here. Oh, and that dog crate is going, too.

And here is how the studio looks at the moment. You know those number puzzles where you shuffle the little tiles around? That’s what it feels like I have been doing all week: shuffling piles. Everything is getting rearranged. My wheel will no longer be next to a window, requiring me to wipe all the nooks and crannies of the woodwork every time I throw pots! And I’ll no longer be standing between my light source and the wheel, creating annoying shadows over my work. (I work mostly at night.) Exciting stuff.

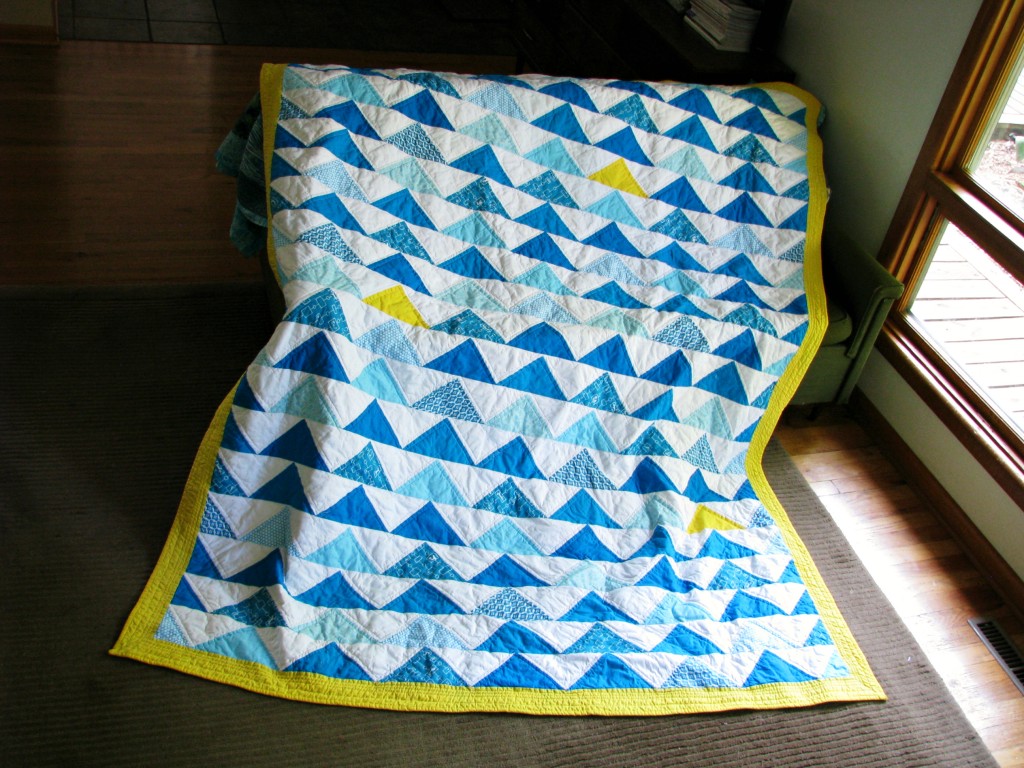
flock of triangles

flock of triangles

It took me about 20 months, but I made another quilt! 20 months is actually an accomplishment, considering it took me 2.5 years to finish my last one. I am not what you would call a real quilter. I am just someone who likes pattern, color and design, and likes to make things for her children on occasion. This quilt was for my middle daughter. I will make one more for my youngest daughter, and that will likely be it until I’m expecting grandbabies. (if those grandbabies are lucky)

This is the Flock of Triangles quilt from “Denyse Schmidt Quilts.” It is also traditionally known as a flying geese quilt. I made this in a larger size than the one in the Denyse Schmidt book, so that required some math, which I apparently didn’t do correctly because the quilt was smaller than I had intended. Hence the yellow border. But I actually like the border quite a lot. This ended up somewhere between a twin and a full, but it will probably live on twin beds for most of its functional life, so that works.

This was my first try with a walking foot. I know I should have practiced on a pillow or something, but I just wanted to get this done, so I forged ahead. It is so not perfect in any way, shape or form. I quilted in a chevron pattern, which involved a lot of struggles with the quilt in my little machine, twisting and turning. I broke numerous needles. My tension kept getting messed up. It was not pretty. But it’s done.

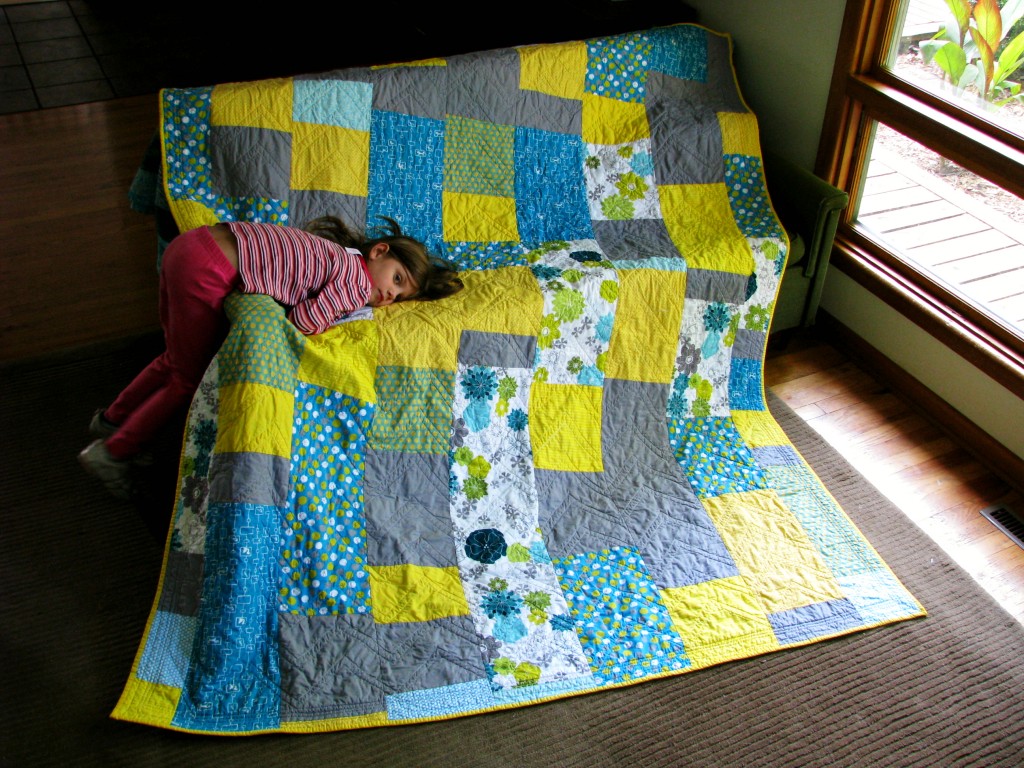
For the back, I just made one long string of patchwork and cut it into rows. Charlotte prefers the back to the front. She’s crazy. But, hey, it’s her quilt. She’s been waiting so long for this. She is so happy every night when I tuck her into bed with this quilt. It makes me happy, too.
good kiln

good kiln

I started a big glaze firing on Saturday night, and I waited oh so patiently (not really) until today to open the kiln. I’ve had a lot of troubles with crazing since I’ve gotten my own kiln, and I didn’t want any quick temperature changes to trigger little cracks. If I had another load full of craze-iness, I wouldn’t have anything to submit with my application for the clay guild’s holiday sale. So by the time I opened the kiln, I was really nauseated and stressed. (I shouldn’t have been, but that’s my nature.)

I’m happy to report that most of the pieces came out just fine! I had a few that I suspected would be problematic, and they were, but no big surprises (except the test tile of gold glaze that was more baby poop than gold).

So I walked around all morning with a goofy grin on my face. And then I started to get very, very nervous about submitting my application for this sale. Short of a few Etsy sales, I have never done anything like this, and putting my work (myself) out there is nerve-wracking. But I did it. The application is in. I picked a pot for the guild to photograph for the poster (above). I chose one that was graphic and colorful, because that seemed right for a poster.

Now Mr. Tiki and I have a lot of pots to make.

the summer of gravel

the summer of gravel

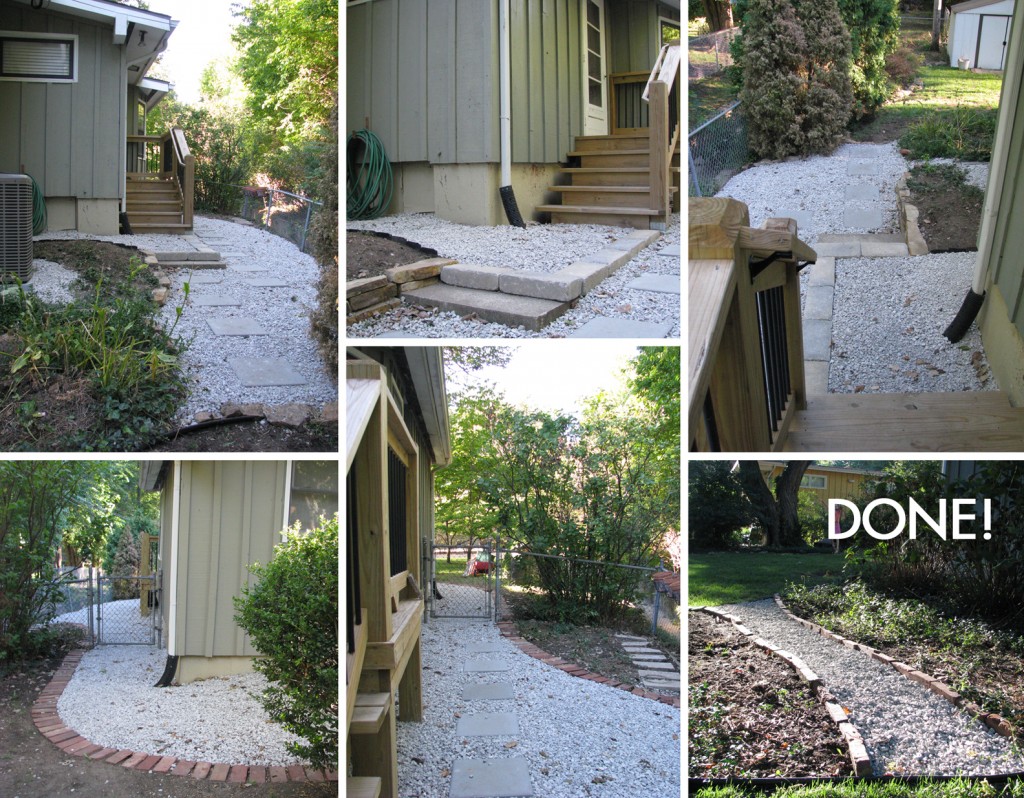
Remember the giant pile of gravel? Well, it’s gone! Finally! I worked all spring and summer on this side-yard project, with next to no budget. Besides the deck, everything was done with our own hands. And backs. And a broken pinky (wheel barrow incident). The bricks were all reused. The materials we purchased were the most inexpensive out there: chat gravel and cement paving stones. Now we have a safe pathway that doesn’t look like an abandoned alley.

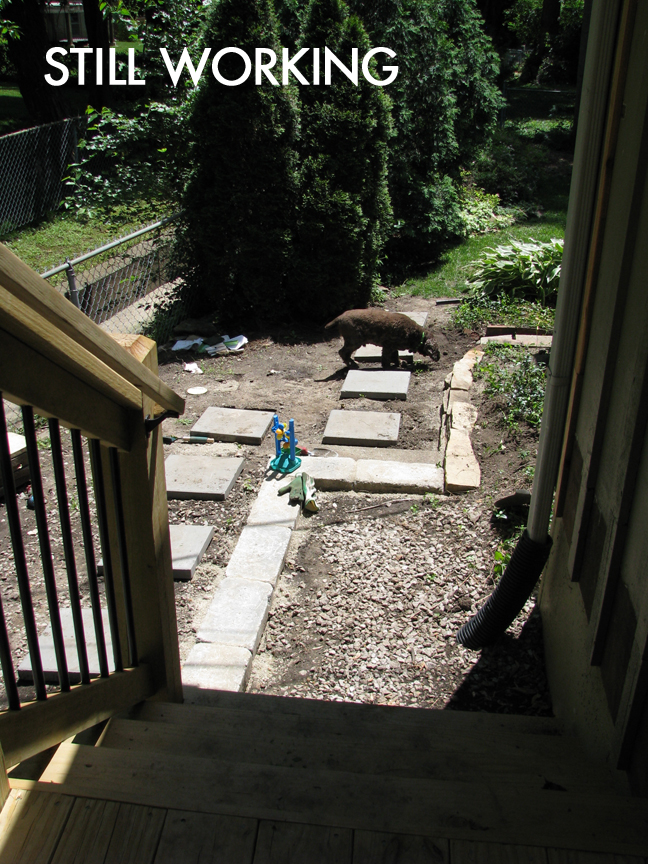
Let’s take a walk down memory lane. Here is the side yard last year with its rotted deck. It was so ugly over there, the dog felt no shame about taking a dump right in the frame (somehow I did not notice this until now).

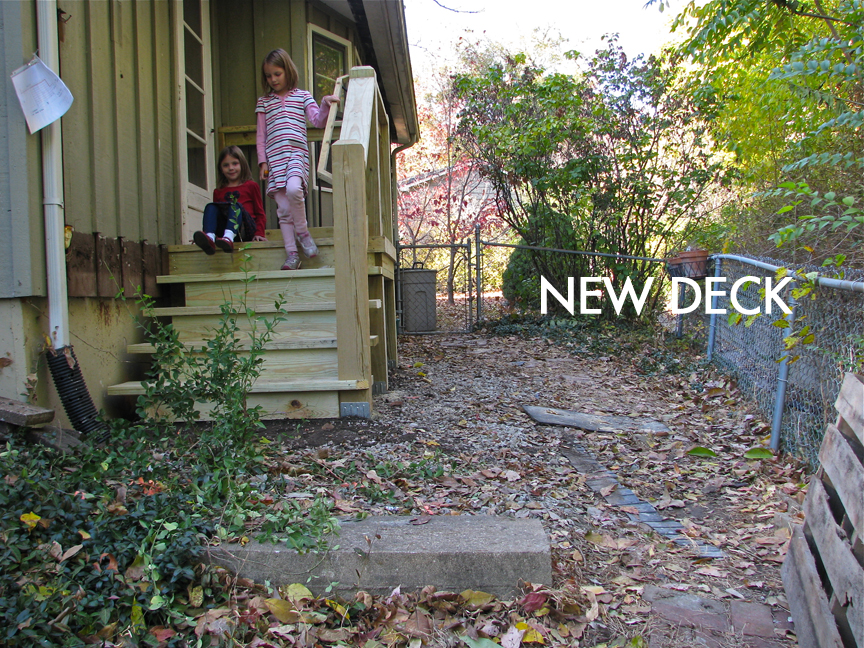
Then we had a new deck put in, which immediately made everything around it look worse.

We had a cement step at the bottom of our old deck. I wanted to use it, partly because we needed some terracing, partly because there was no way that thing was moving more than a few feet. But it needed to be moved to the side a bit, or it was just sitting in the middle of the pathway, potentially leading the less graceful of us to injury. I somehow managed to move it myself with a shovel and a tarp. And my super woman muscles.

This area turned into a playground for the summer — lots of digging and dirt play. The girls are mad I covered it up with gravel.

Drumroll …

I’ll add some mulch and plants to the empty beds in the spring. We also added a path through a different bed in the back (the kids had already trampled one anyway).

I’m so glad this is finished. That was a lot of work!

into the kiln

into the kiln

I always know it’s time to run the kiln when I run out of horizontal surfaces in my studio (and I still can’t get used to the word “studio,” but “office” just doesn’t seem like the right word here, even though that’s what we call it here at home). I still need to reorganize my space so I have more shelving dedicated to pottery, but for now, my work dries on my work surfaces, and I work until I am dealing with only about a square foot of work space.

Tonight I’m bisque-firing cups, mugs, bowls, buttons, test tiles, props for the test tiles, and models for drop molds and sprig molds. I’m very nervous about this firing and the glaze firing. I really want some functional, non-crazing work to come out of this load. One of my goals for the year is to participate in the Kansas City Clay Guild’s annual holiday sale. If I want to do this, I need to send in a sample for photographing ASAP. But all of my samples have crazing, and that bothers me.

So my fingers are crossed for this load. Maybe I need to make some sort of sacrifice over the kiln. Or at the very least stick my little tiki in the garage to protect the kiln from bad glaze monsters.

color, composition, process

color, composition, process

I’ve been messing around with altering some of my photos in Photoshop, eliminating the subject and reducing photos to the basics of color and composition. Somehow the mood and undertones of a photo remain, even when you eliminate the subject. The transformation to pixelation is really kind of addictive — I’ve been having fun making these. I want to use these somehow in my pottery (it always comes back to the pots). But I want to think of ways that I can integrate the ideas behind these images into forms, and not just slap these images onto forms. And the bottom version of these makes me want to learn how to use watercolors, and how to use underglaze as watercolors (not easy, considering the unfired color is different from the fired color).

I’ve been realizing that I show a whole lot more process here than final product. Part of me feels like I should be more productive with my creative work, but really, this is where I am. I am still learning my craft, and my head is full of ideas, and all of this play in different directions will lead me to pottery that I really love producing and selling. Eventually. A little bit of imagining and sketching here and there fits into my schedule of taking care of three small children all day so much more naturally than being in production mode (which would be pretty much impossible at the moment).

So here’s to being OK with sketchiness and ideas that lead nowhere and everywhere at the same time.

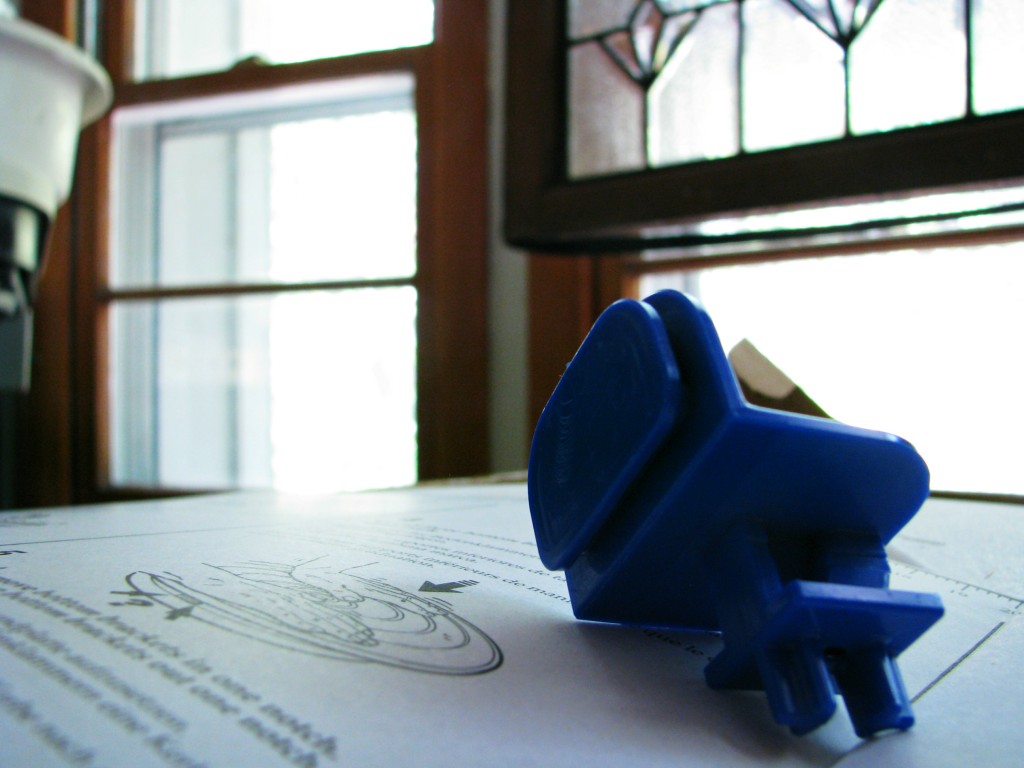
Oh, and the birthday gift I mentioned last time is a Giffin Grip! I’ve been trimming the bottom of my pots by tapping/adjusting them to center on the wheel and then holding them in place with wads of clay. This will be much easier! (I hope.)